Practical Workflows
Practical Workflows
Step-by-step workflows for podcasts, interviews, Shorts, transcript editing, client branding, publish-prep packages, manual social posting, and storage cleanup.
Create TikTok clips from a podcast
Goal: Turn a long podcast into vertical clips.
Best for: Podcast editors and social media managers.
Steps
- Create project
- Import podcast video
- Generate transcript
- Suggest clips with 30/45/60 second targets
- Edit captions
- Use 9:16 smart crop
- Render preview
- Export and prepare manual posting metadata
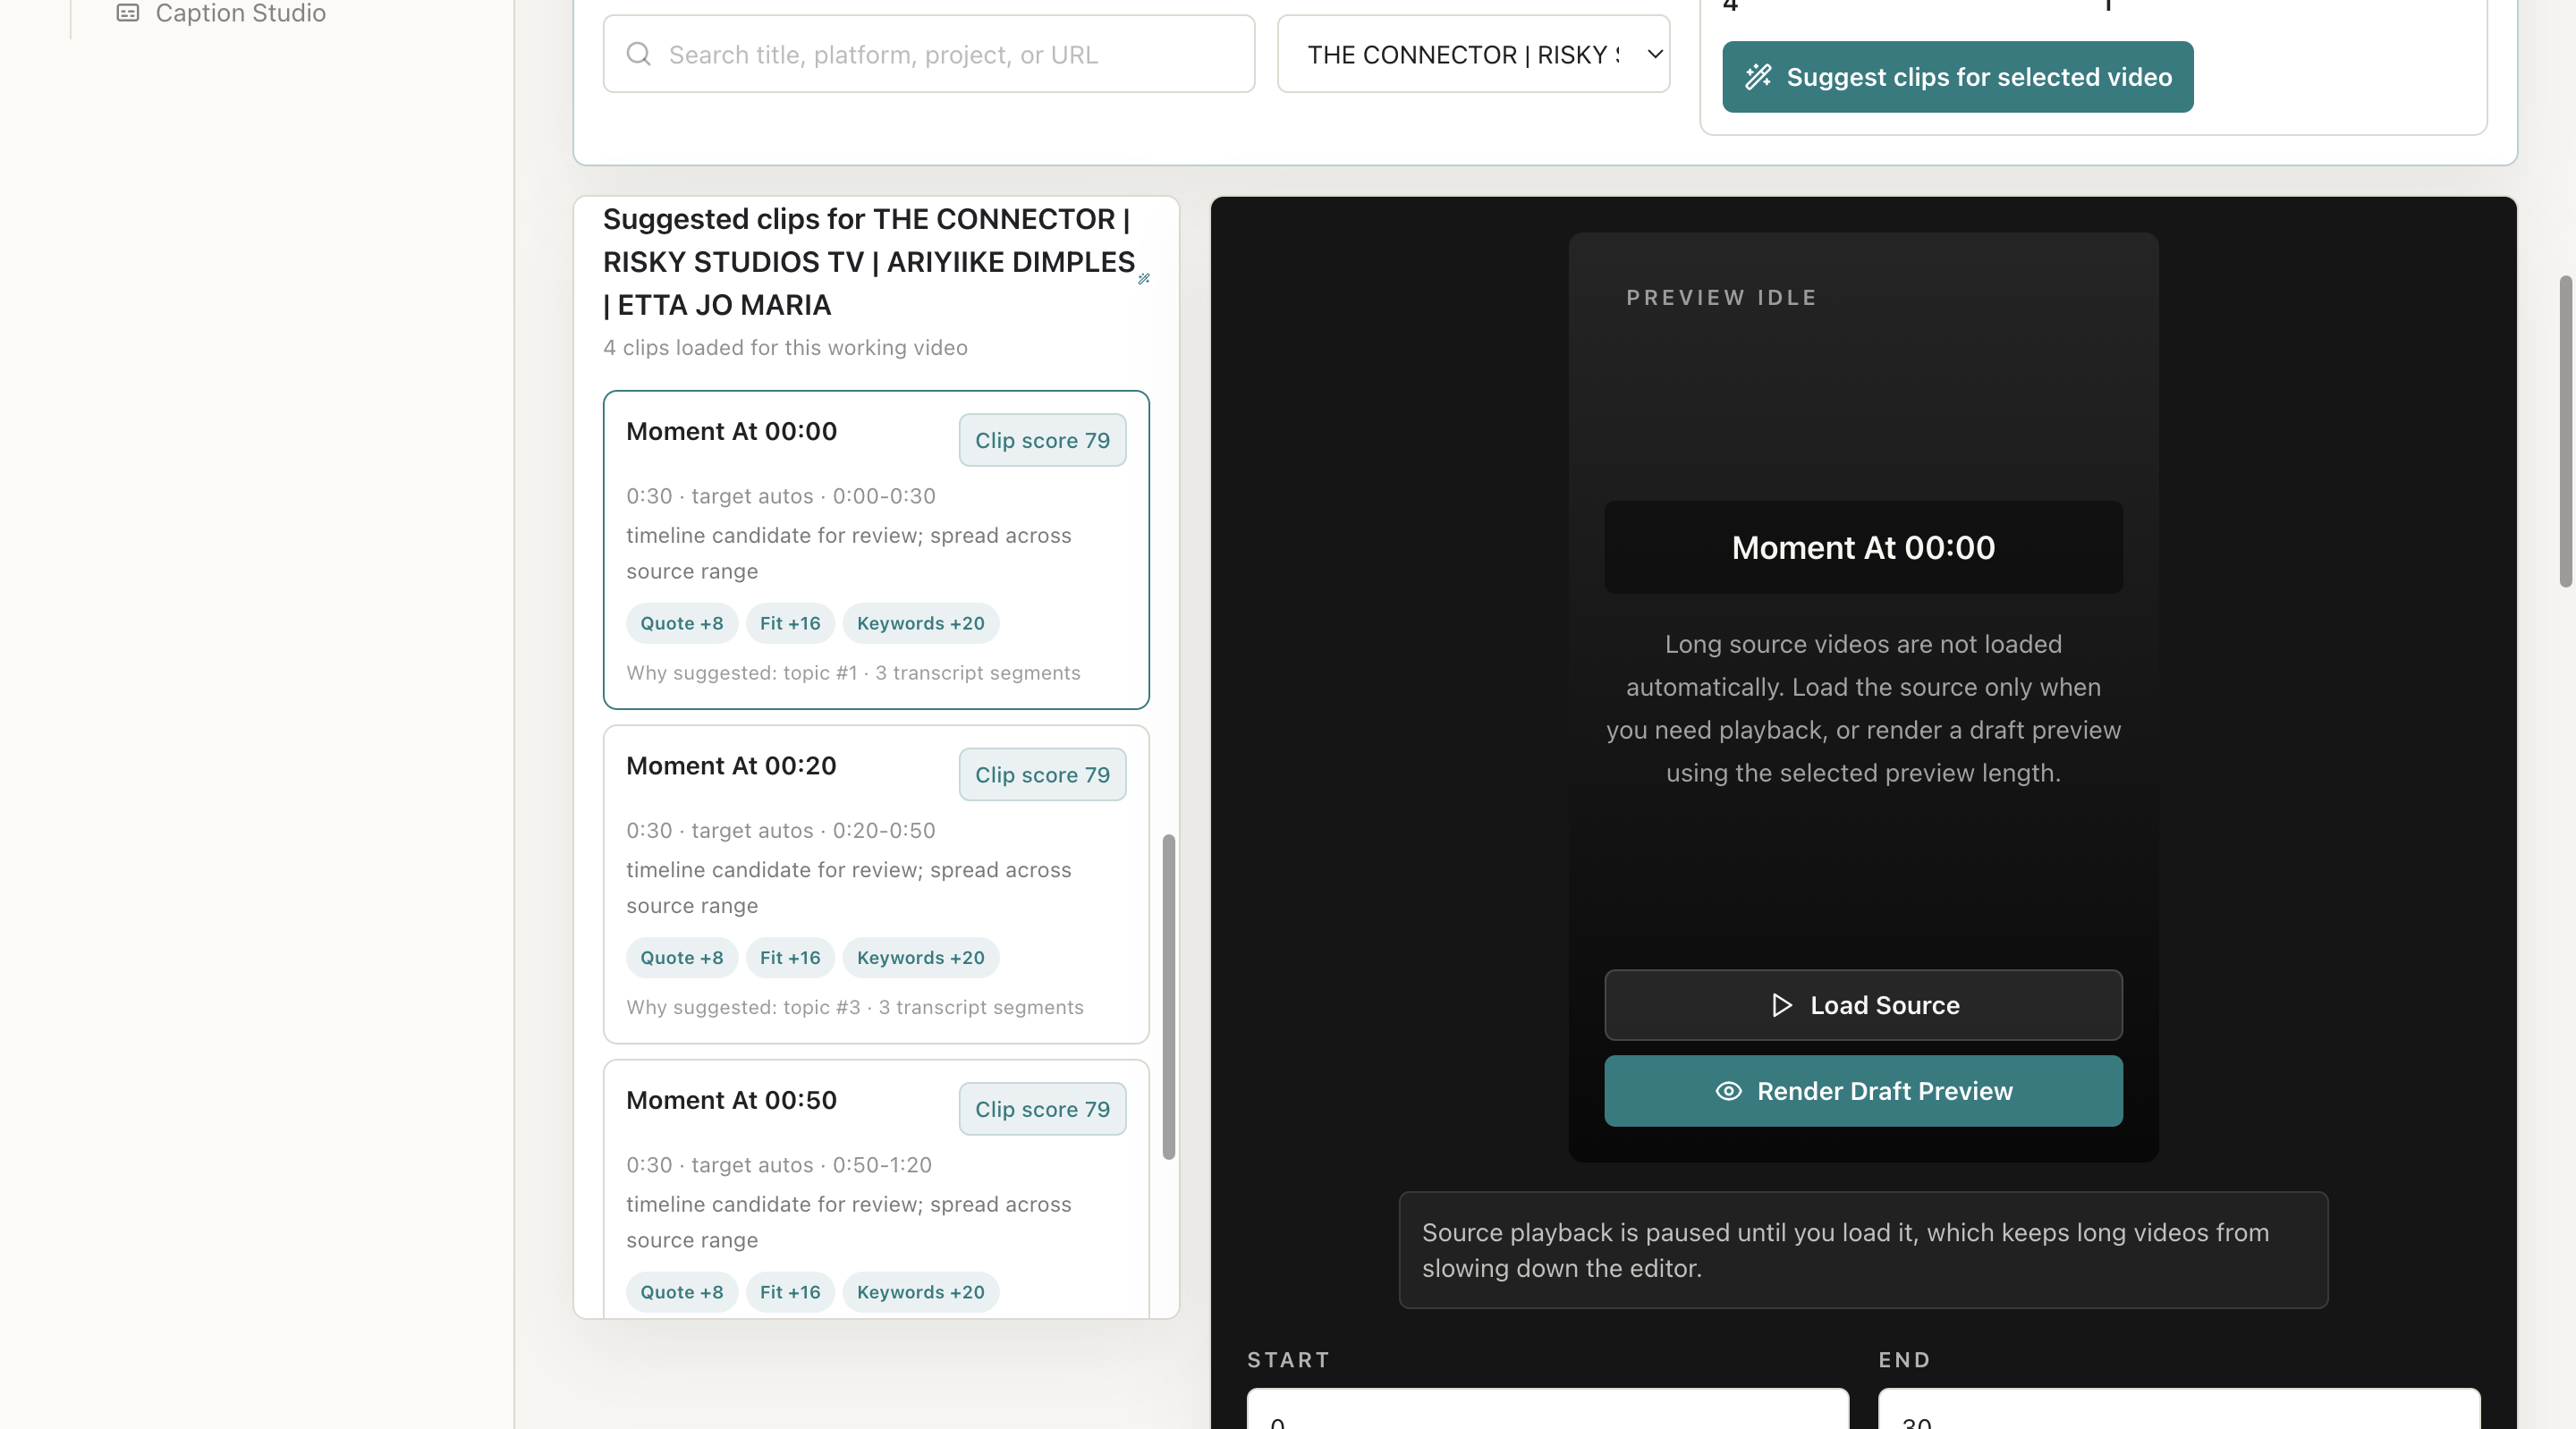
Expected result: A set of vertical podcast clips ready for review.
Create Instagram Reels from an interview
Goal: Create branded Reels from a business interview.
Best for: Agencies and business creators.
Steps
- Create client project
- Assign brand kit
- Import interview
- Suggest high-value clips
- Apply captions and brand kit
- Preview
- Export 9:16
Expected result: Branded Reels-style clips with captions.
Create YouTube Shorts from an educational video
Goal: Find complete short teaching moments.
Best for: Educators and YouTube creators.
Steps
- Import video
- Generate transcript
- Use 45/60 second duration targets
- Review score reasons
- Edit captions
- Create thumbnail
- Export vertical clip
Expected result: Short educational clips with cover images.
Remove unwanted sections with transcript editing
Goal: Delete mistakes or off-topic ranges by transcript timestamp.
Best for: Editors removing filler or dead air.
Steps
- Open Transcript Editor
- Select transcript
- Mark deleted ranges
- Preview cuts
- Apply edits
- Confirm original file remains
Expected result: A new edited output with selected ranges removed.
Use brand kits for client work
Goal: Apply consistent client styling.
Best for: Agencies and client editors.
Steps
- Create client
- Create brand kit
- Assign project
- Select brand kit in Clip Editor
- Preview and export
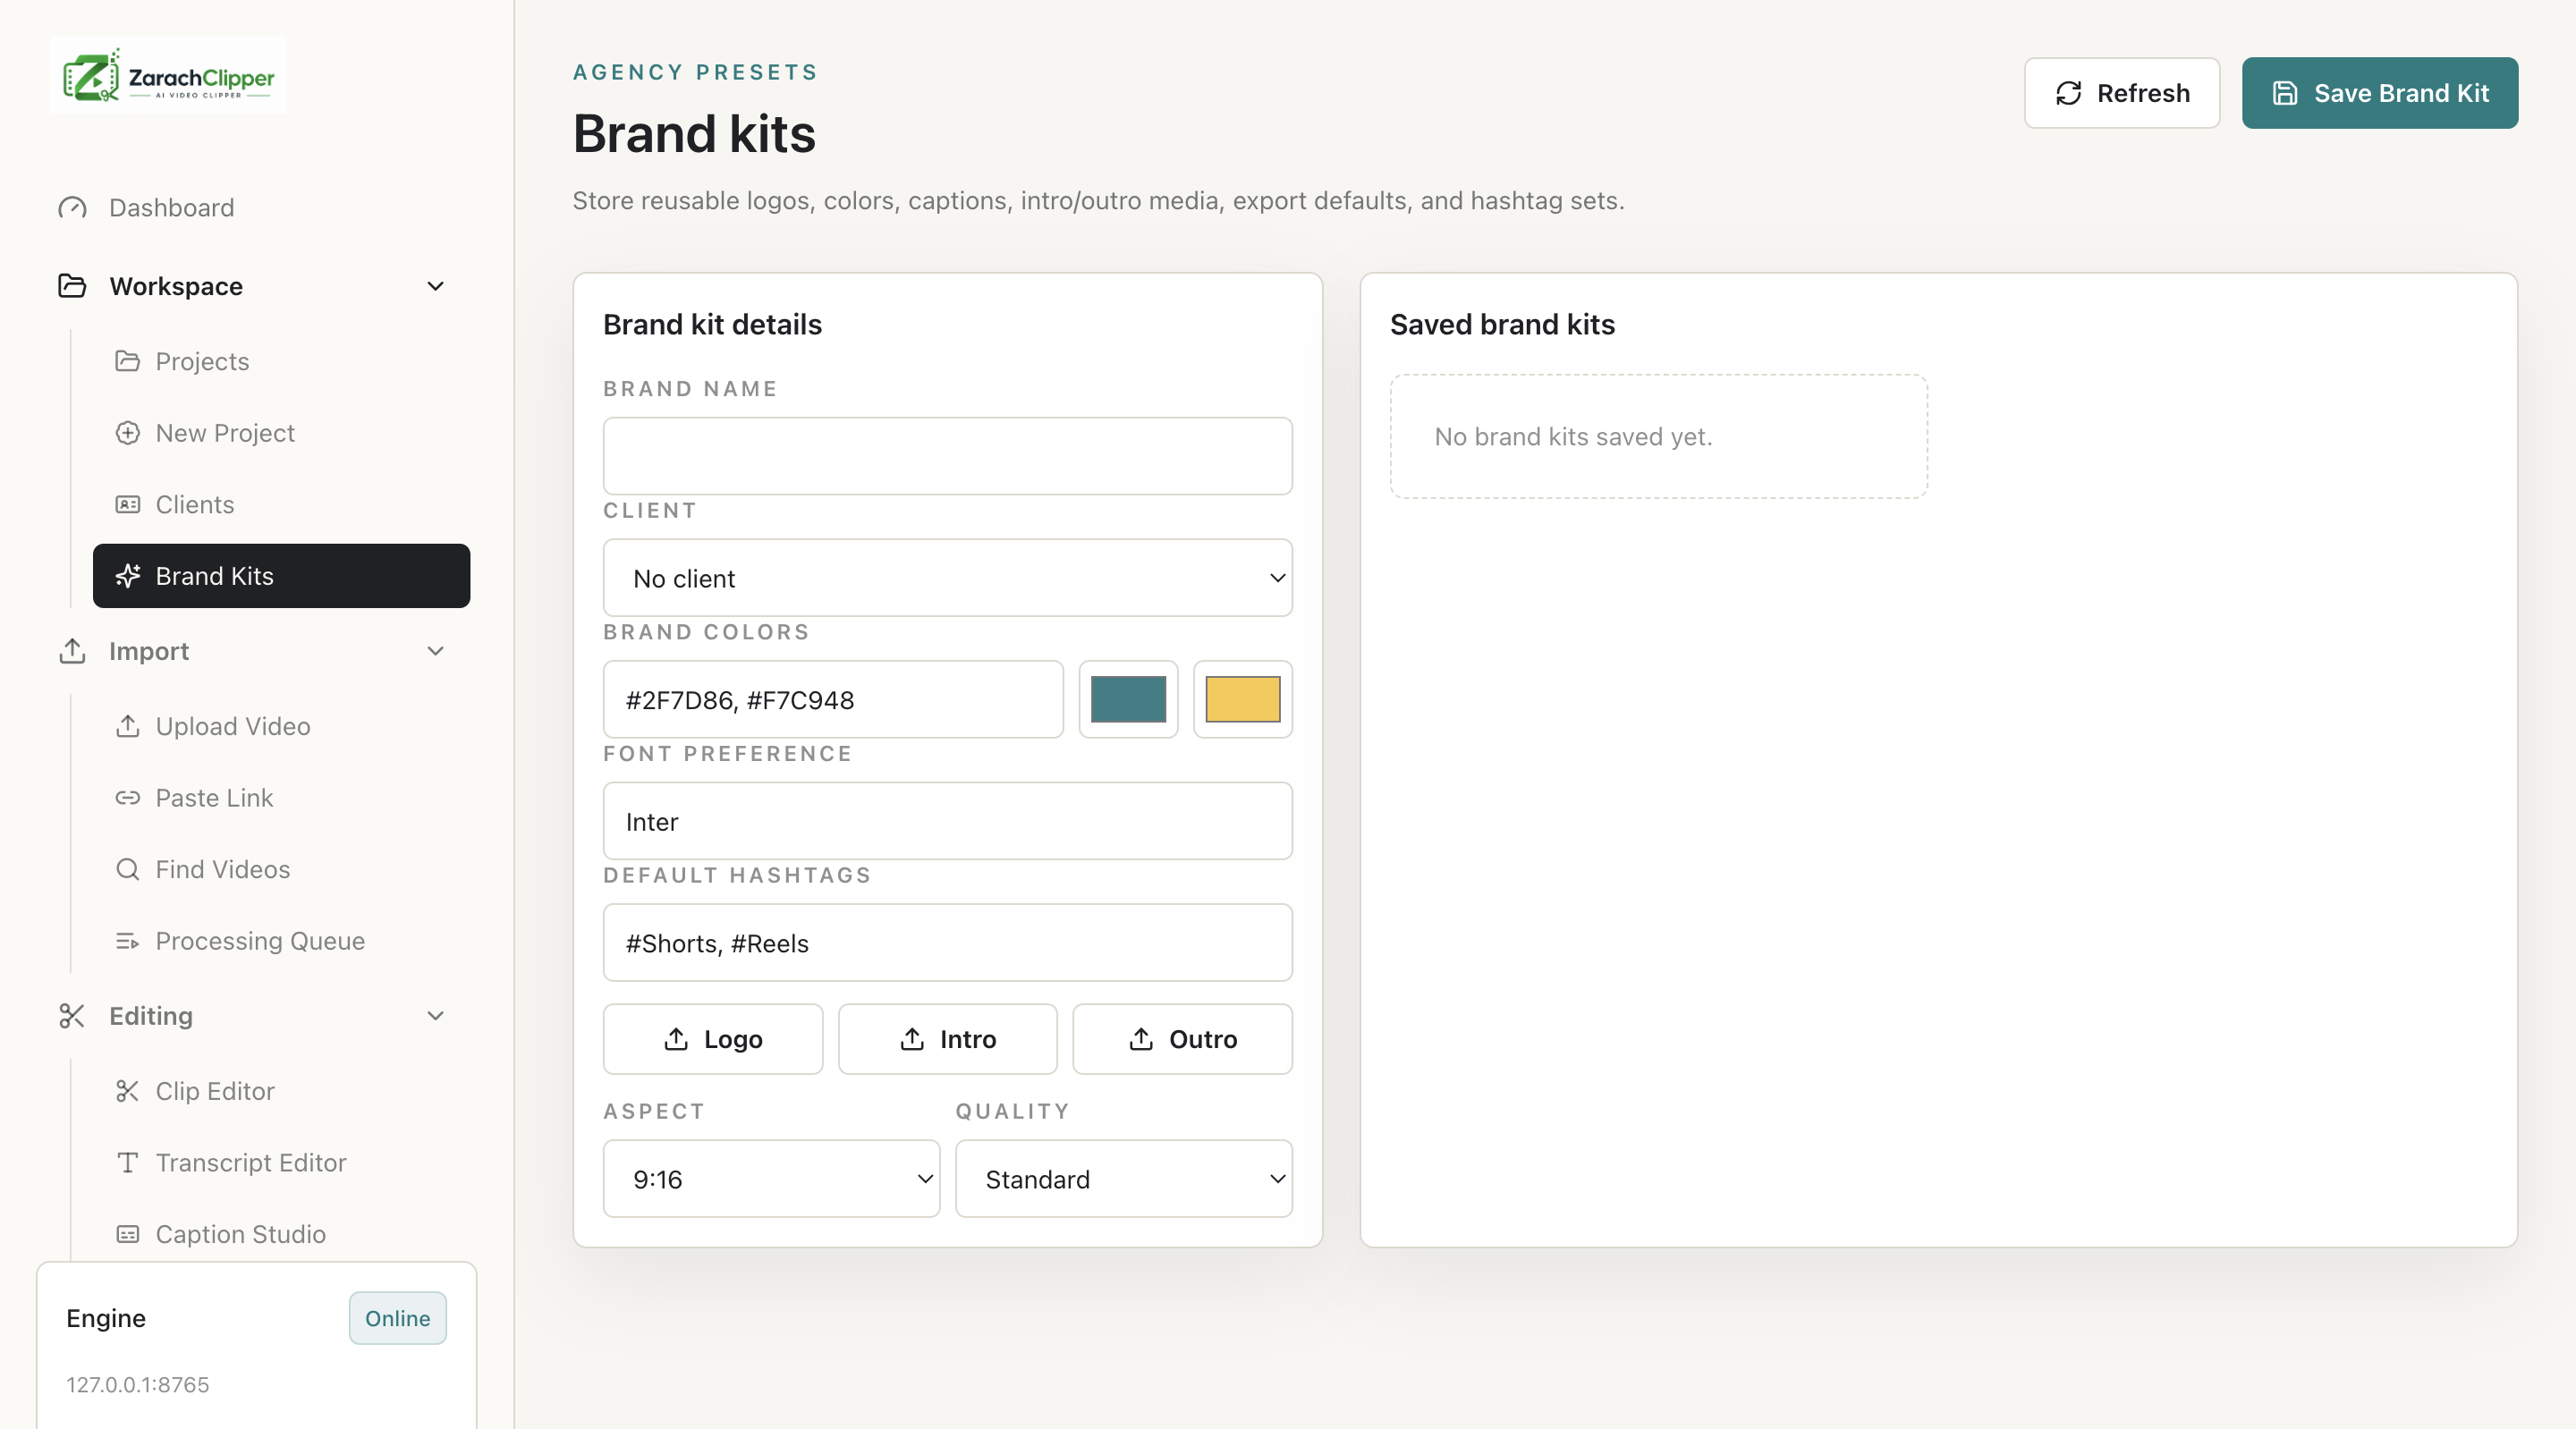
Expected result: Clips use approved client styling.
Generate captions, thumbnails, and publish-prep report
Goal: Prepare a complete content package.
Best for: Social media teams.
Steps
- Suggest clip
- Edit captions
- Generate thumbnail
- Complete rights checklist
- Add metadata
- Export and save report
Expected result: Video, caption, thumbnail, and publish-prep materials are ready.
Prepare clips for manual social posting
Goal: Prepare export and platform metadata for manual upload.
Best for: Creators and publishers.
Steps
- Export final clip
- Open Publishing
- Choose platform
- Write caption/hashtags
- Review warnings
- Upload manually
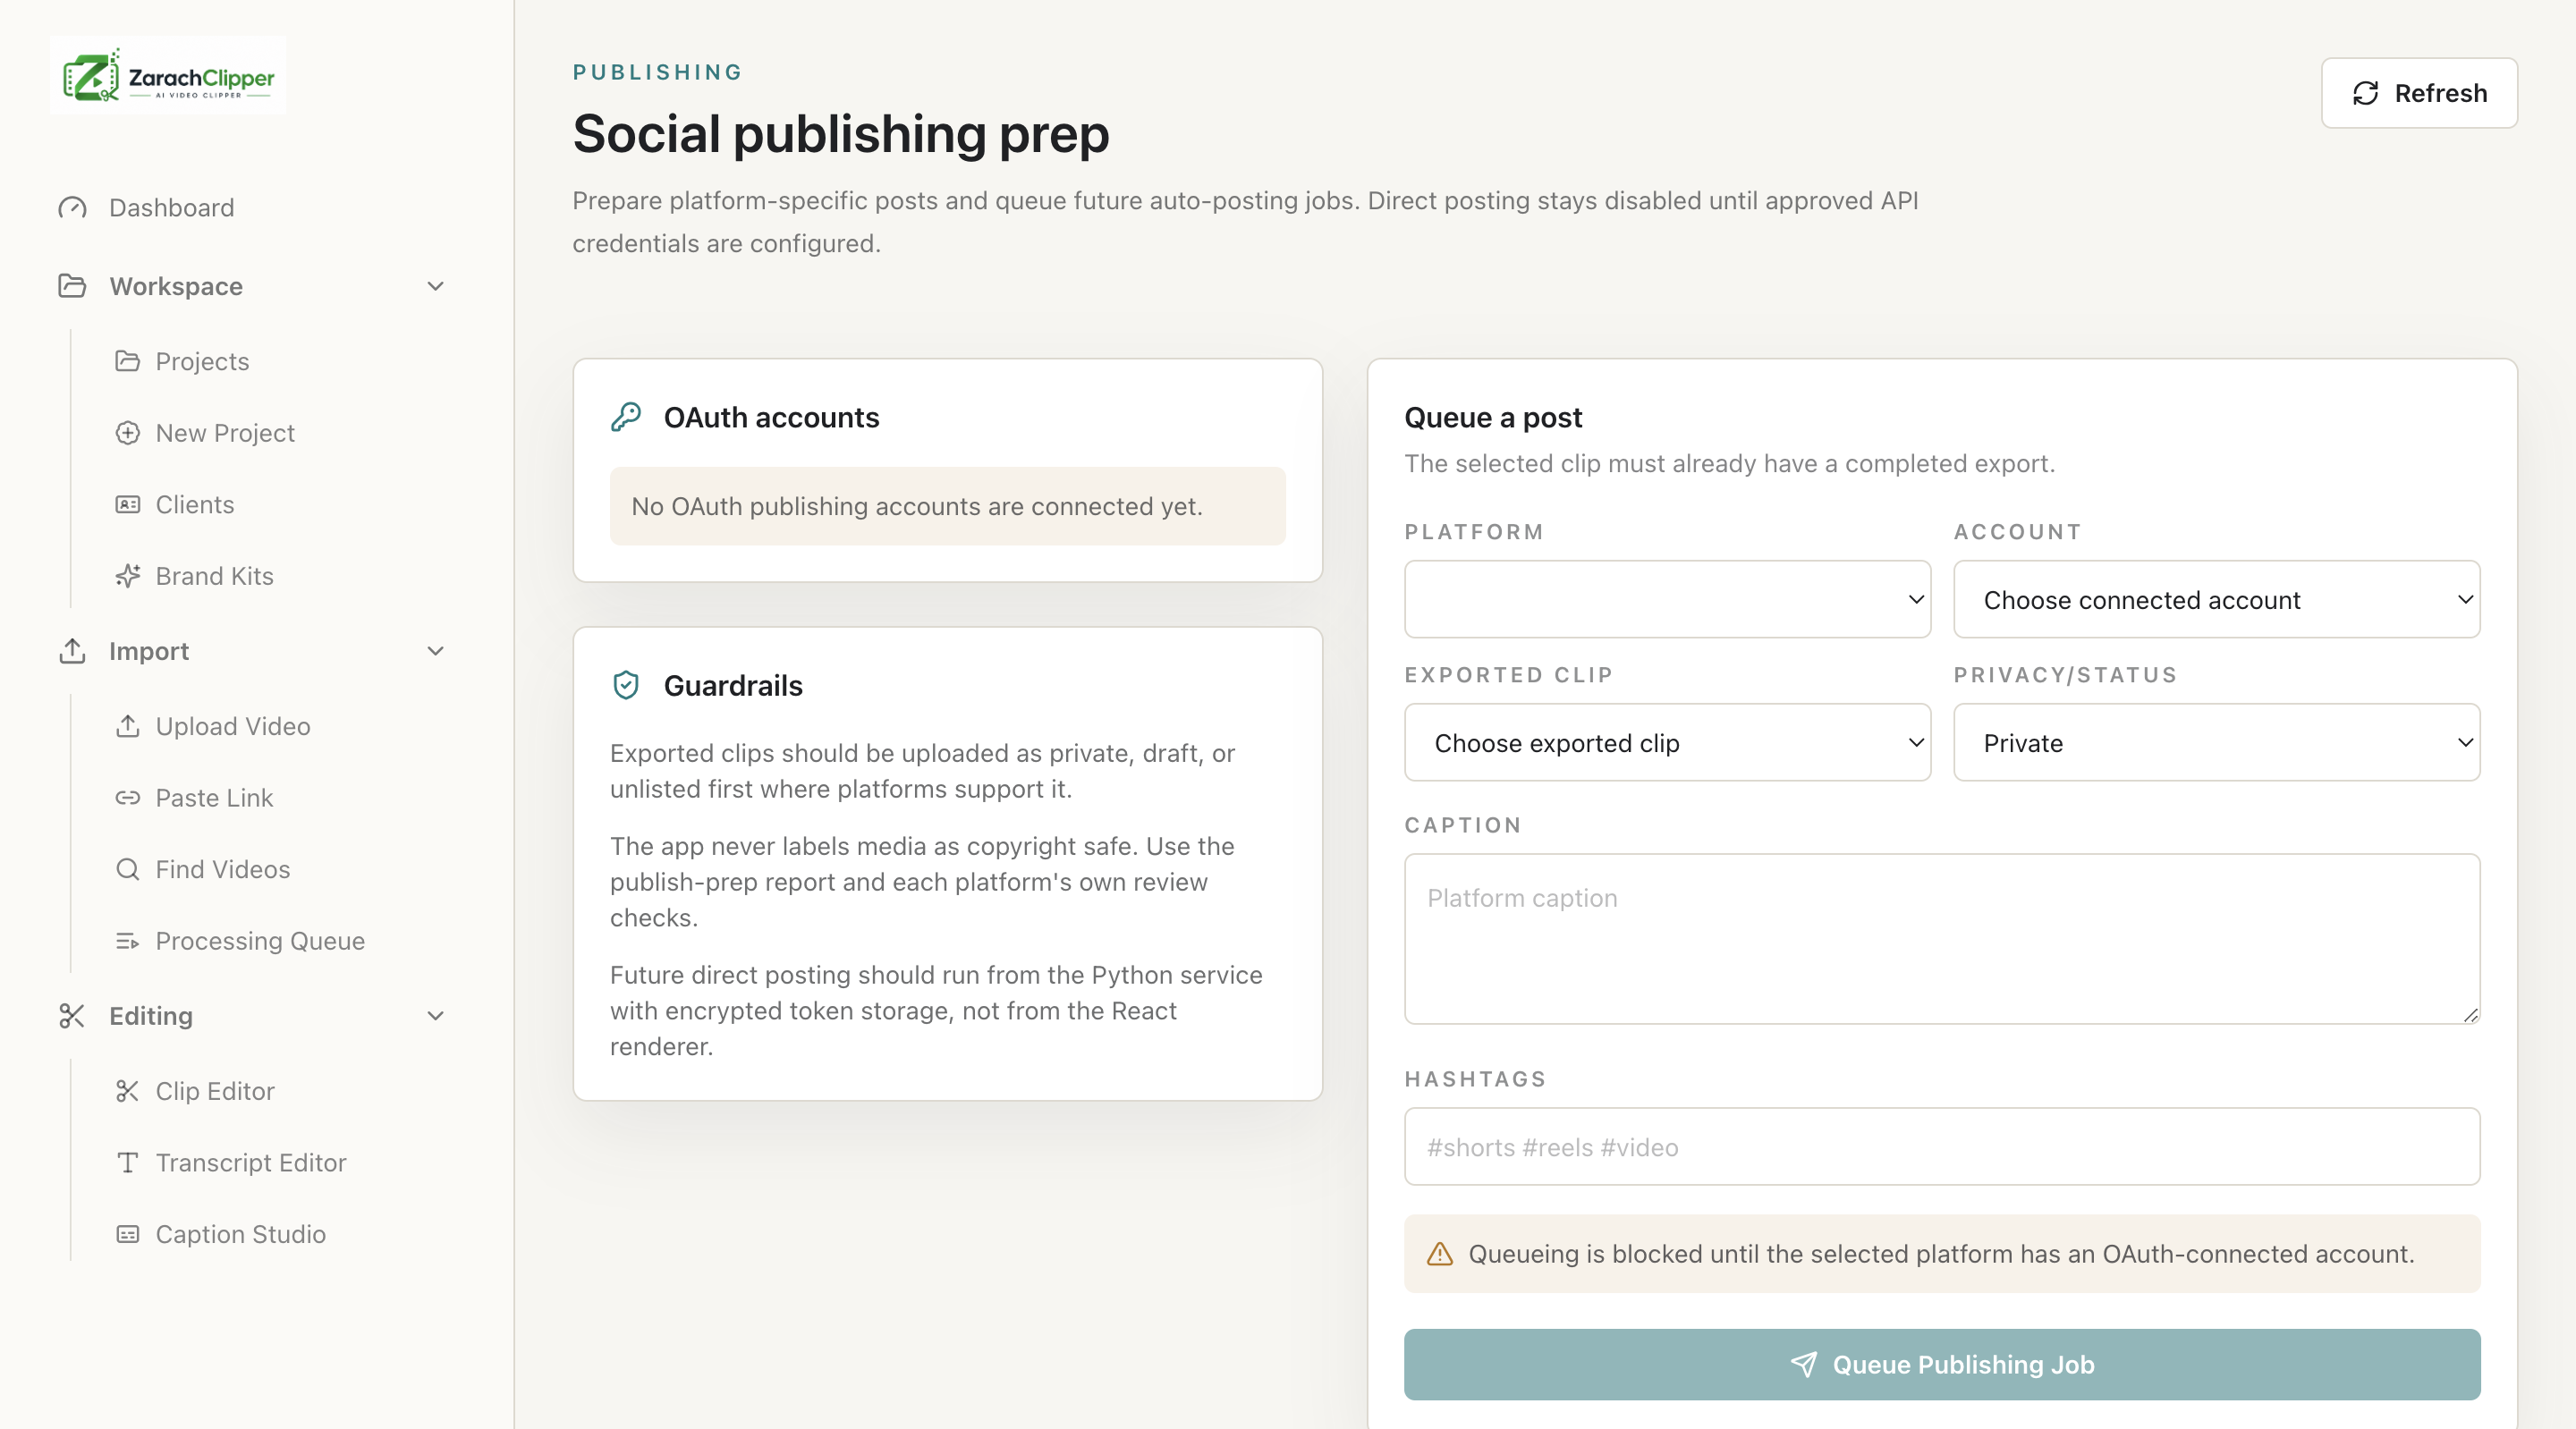
Expected result: A manual posting package is ready.
Clean storage after a large project
Goal: Free safe temporary storage.
Best for: Admins and operators.
Steps
- Open Storage Manager
- Review sizes
- Back up exports
- Clean safe temp files
- Recheck free space
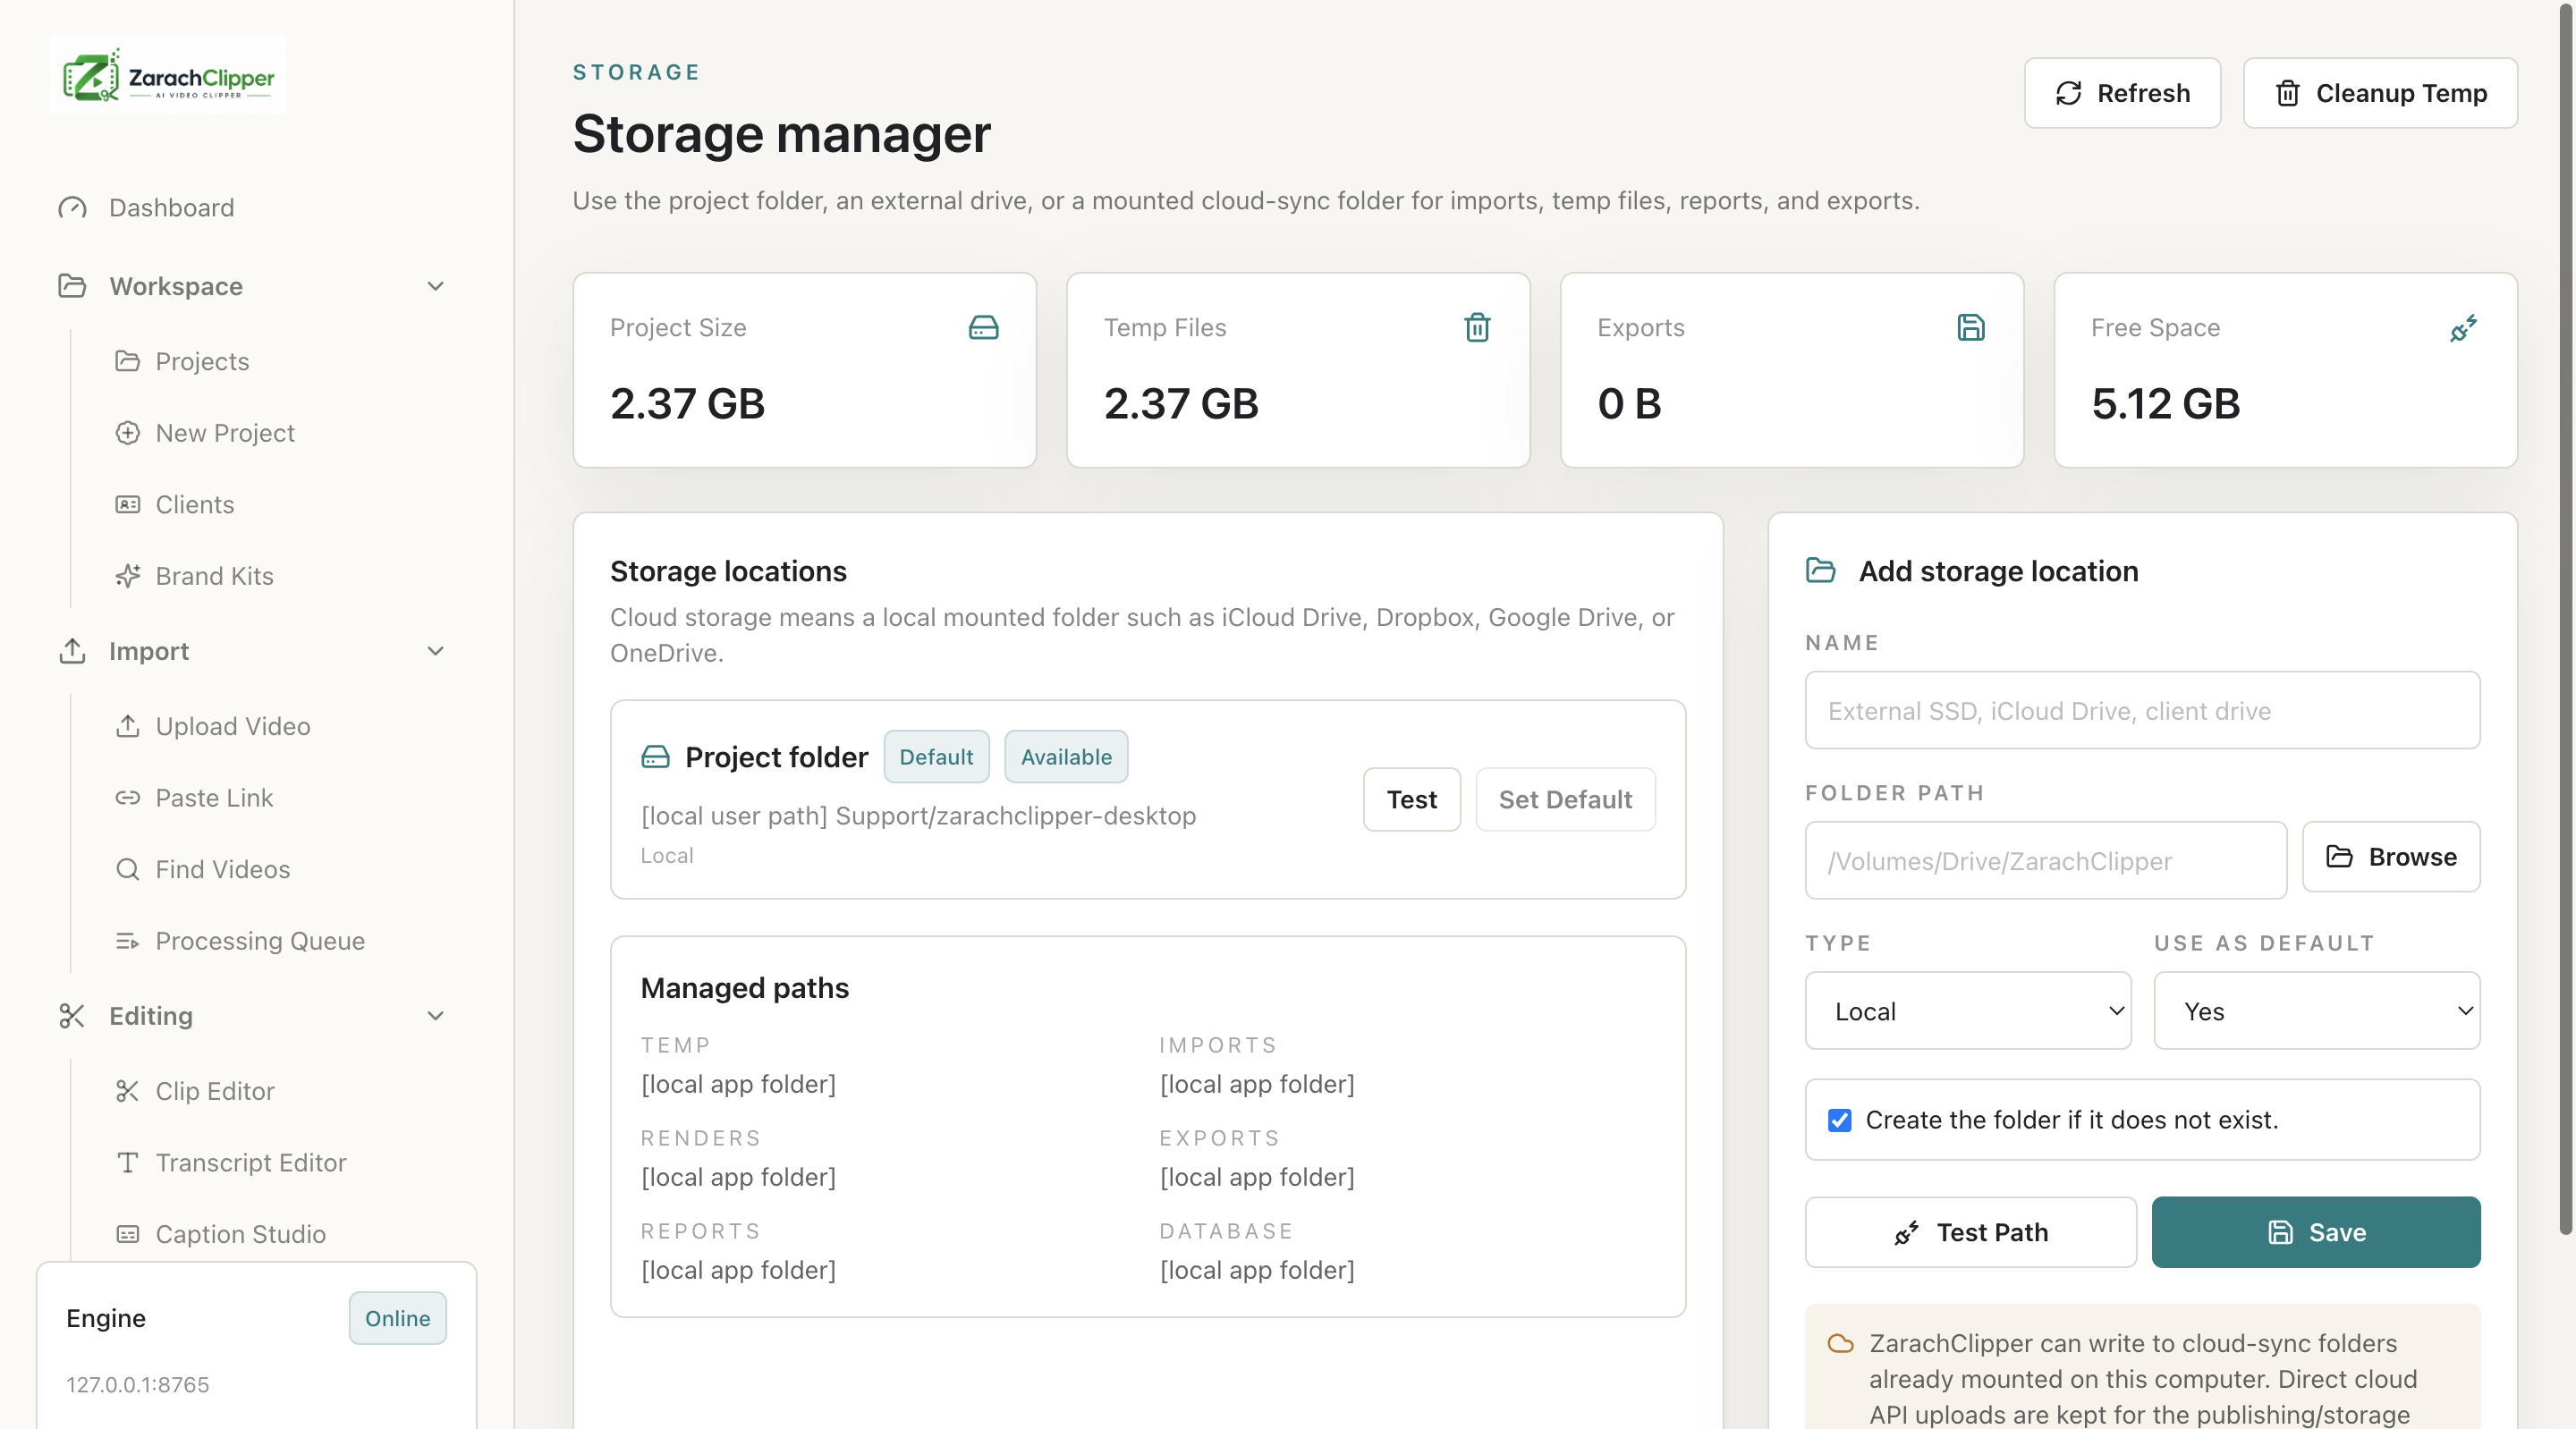
Expected result: Temporary usage is reduced without deleting source/export files.